Friday, 10 October 2014

A trip to the Knitting and Stitching Show!

Had a lovely day off work on Thursday wandering around the Knitting and Stitching Show at Alexandra Palace. It's well worth a visit!

There was so much to look at, and so many tempting things to buy!

My first purchase was made at Simply Fabrics. This is a fabric retailer based in Brixton and they had a great range of affordable priced fabric on offer.

Simply Fabrics


I bought a lovely stripey double knit for my first attempt at sewing knit fabrics - I'm going to make the Coco pattern from Tilly and the Buttons. It was a bargain at £4 a metre.

Lili Fabrics


A lot of the other fabric retailers had gorgeous material on offer but unfortunately they were a bit too pricey for me!


Another good value retailer I found was Lili Fabrics. They are a retailer based in Romford, Essex.


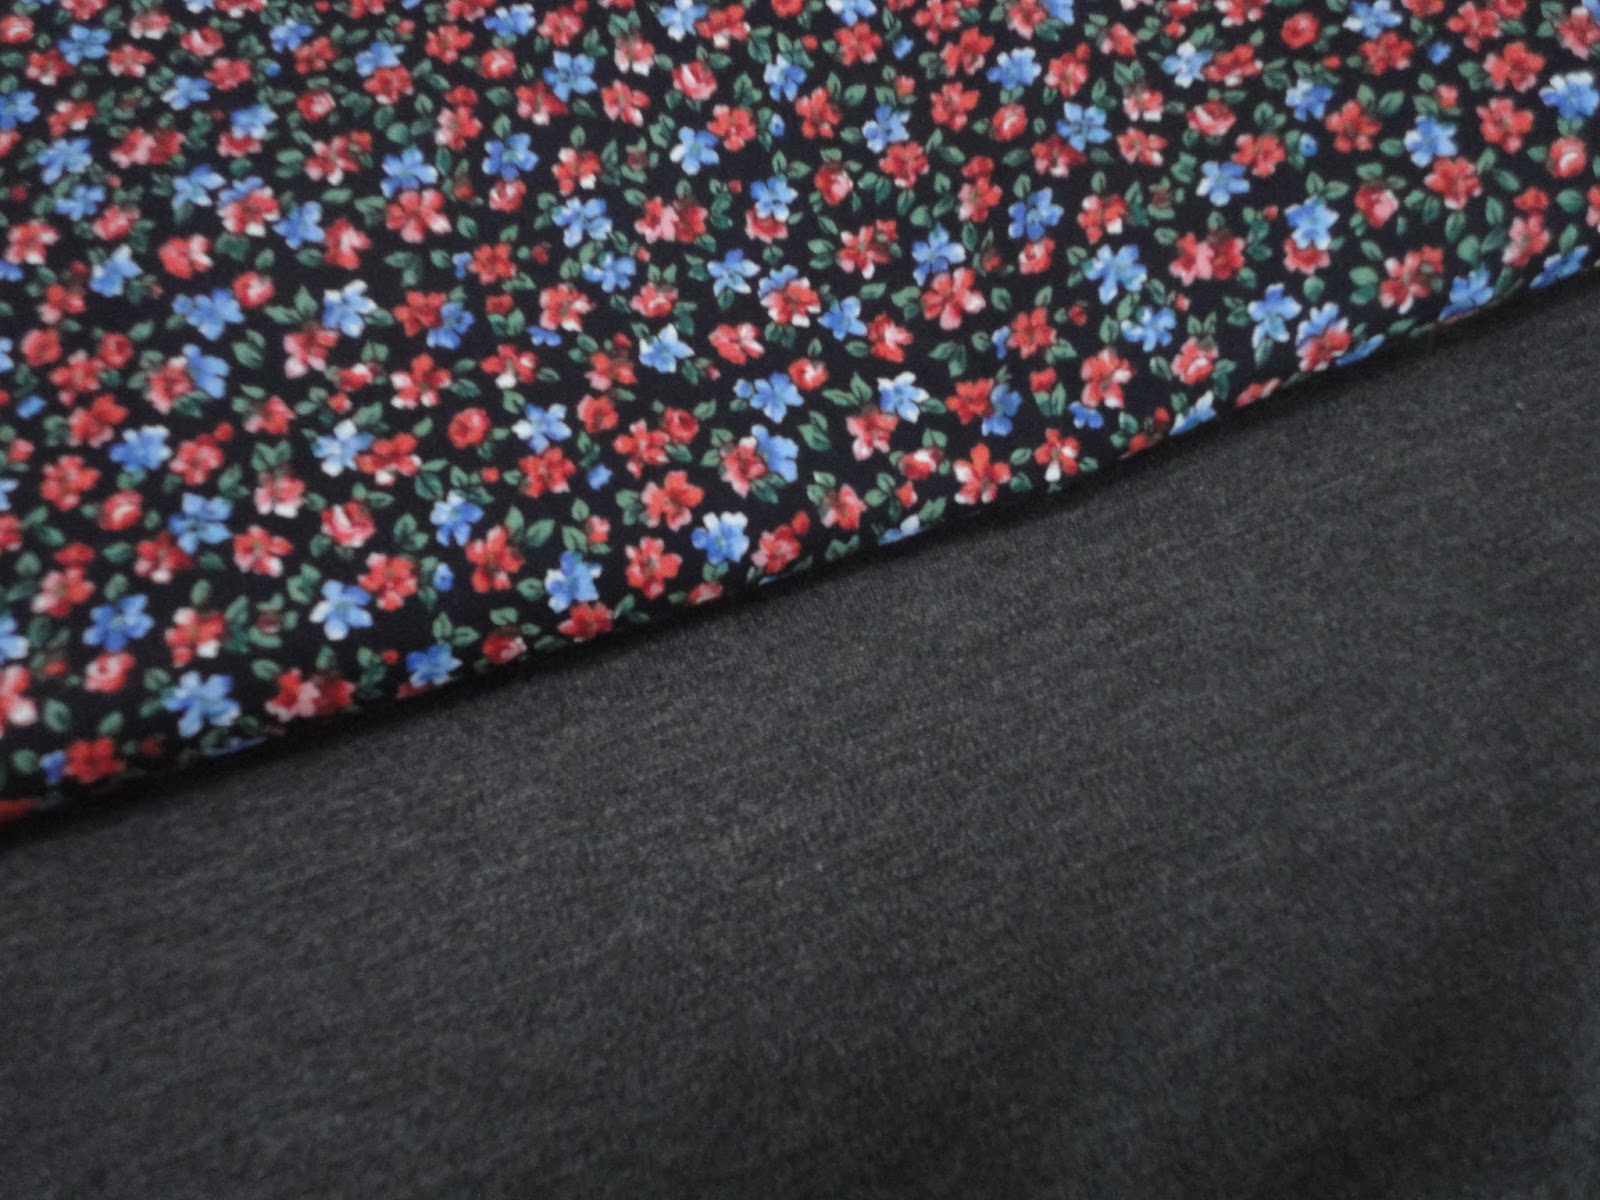
I bought a grey double knit for £3.95 a metre. What to make? A second Coco maybe? I also bought some flowery cotton for £4.95 a metre. Another bargain!


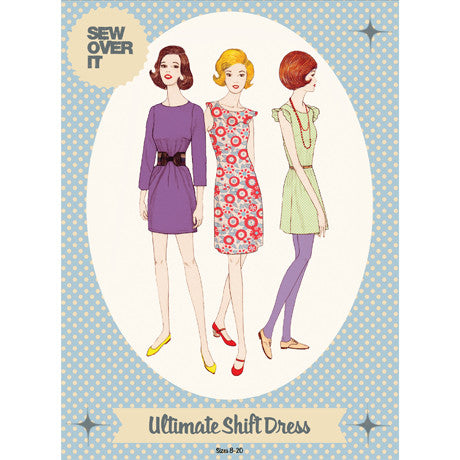
I also fell in love with this dress on the Sew Over It stand - the Ultimate Shift Dress - which I think I will be using the flowery cotton I bought to make it with!

The Ultimate Shift Dress

Sew Over It

I love all three versions and this looks a super easy make. The long sleeve version looks great for winter. I can't wait to make this.


There were also loads of retailers selling gorgeous yarns and knitting patterns. Finally I treated myself to a new pattern booklet by Sirdar from Black Sheep Wools and two balls of this gorgeous aran weight wool to make a scarf.

There are loads of gorgeous patterns inside the booklet that I want to make, if only I had the time!


And finally for no real reason here is a picture of a knitted bear wearing a knitted waistcoat. Isn't he adorable!


Has anyone else visited the show and if so what did you buy?


Friday, 3 October 2014

Lottie Blouse! Simple Sew free pattern

I made this Lottie blouse sometime in the summer, but didn't get round to posting about it yet. It's not my most successful make but I'd thought I'd share it anyway.

Lottie Blouse -  Simple Sew free pattern from Love Sewing

 The pattern was a free one that I got with Issue 2 of Love Sewing that I wrote about here.

The blouse is labelled as suitable for  adventurous beginner but I have to say the pattern had me scratching my head a lot for something supposedly so simple! I felt the instructions were a bit too basic and assumed  a little too much knowledge for a beginner, although the pattern does say it comes with full email support, so I suppose you could contact Simple Sew directly if you were really stuck! I chose to make the sleeved version but with short sleeves rather than three quarter length.

Lottie skirt and blouse pattern by Simple Sew

The material I chose was a lovely floaty material that I bought in the sale in John Lewis.


However this was my first  experience of sewing this type of material and I found it really difficult to work with! I made several mistakes that had to unpicked and even though I was careful with the seam ripper it still puckered the material! Luckily the snags are not to noticeable.  The keyhole neckline was very confusing and I had trouble applying the bias binding. I also think that the inside of neckline looks very messy and unfinished.

That said it looks nice on and I got complemented the first time I wore it.  My hemming is very wonky too on both the sleeves and the bottom hemline. I think if I was going to make it again, I'd have to use something not quite so floaty as I found this material was a nightmare to sew. Think I will be sticking with cotton for the moment!

A close up of the pussybow

I found the following advice on Lazy Daisy Jones' blog about making a couple of changes to the pattern which I think would finish the blouse more professionally.

All in all, I do like the pussy bow style though, and have just seen this new pattern on Sew over it for  the Pussy Bow Blouse. Wondering if this is a better pattern. Time to try another?

Have you made the Lottie Blouse or the Pussy Bow Blouse? I'd love to hear how they compare!

Friday, 26 September 2014

Vintage teacup pincushion

Do you find you can never  have enough pincushions?!?

A vintage teacup pincushion

So when I saw this tutorial on how to make a tea cup pincushion on the blog at Sew Over It, I thought I had to make one of my own.

A vintage teacup pincushion


I popped into a local charity shop at lunchtime, and picked up this sweet vintage teacup for £2.  I chose a white fabric from my stash as anything patterned looked a bit busy.

A vintage teacup pincushion


I followed the instructions on Sew Over It's blog, and it was a super speedy make!

I think I might be making a few more, they would make great gifts for stitchy friends or vintage lovers.

A vintage teacup pincushion

I'm also trying to improve my photography as I don't think the pictures that I take do my sewing enough justice!  I took these shots in natural daylight and tried out lots of angles. I also used picmonkey to crop the images. The background fabric is something that I have in my stash, waiting to be turned into something! Would love to hear any good photography tips! 

A vintage teacup pincushion


Wednesday, 24 September 2014

New look 6356

So this is my latest make.

New Look 6356 - front view

New Look 6356 - back view

I decided to tackle something "easy" and decided on this sleeveless top from New Look.

New Look 6356 - easy 2 hour pattern


It looked easy enough with simple dart shaping at the bust and a faced neck and faced armholes.  I chose version A with the high neck and no sleeves.

New Look 6356 - Pattern front and back views

The pattern claims to be "easy" and take 2 hours sewing time.  I'm not sure where they got that figure from but it certainly took me much longer than that particularly as I had a major fit issue!

I used a grey check fabric that I ordered from myfabrics.co.uk in the summer. I ordered it online, and although it appears to be a UK site, the fabric came from Germany.  The delivery took a bit longer than I expected but the fabric very reasonably priced. The fabric is this cotton vichy. I used less than a metre to make this top.

Things I'm pleased about this top:

Fabric: I like this cotton vichy and would use it again. It's very reasonably priced and would make a cute fifties style shirt.

Cotton vichy from myfabrics.co.uk
Cotton vichy


Pattern matching. I had a pretty good go at this. However I've learnt I really need a walking foot as no matter how well I aligned the little squares, they some how slipped when sewing. Apparently a walking foot is a must to prevent this.


New Look 6356 - side seam
Side seam

The centred zip. The pattern called for a lapped zip but to be honest I couldn't make sense of the instructions. My preference would be for an invisible zip but I didn't want to have to make a trip out specially just to buy a zip. Instead I decided to have a go at a centred zip which I've never done before.

New Look 6356 - centred zip
Centred zip

I turned to the instructions given in "The Complete Book of Sewing" which is an excellent reference book I find.

And it was easy. Another skill learnt! I do prefer invisible zips but it's nice to try something else out.


New Look 6356 - centred zip
Centred zip


Facings. I like the faced armhoes and neck-line having previously only used bias binding. They make the garment neater I think. As I don't have an overlocker,  I edge-finished the facings as per the pattern instructions and they look quite neat.

New Look 6356 - neck facing
Neck facing


Things I don't like:

The fit! This pattern is weird. I made a size 14 based on my measurements and the front fits fine. However the  back was enormous and stuck out at back at the zip. Rather than abandon the top, I actually unpicked the back seam and zip. I then resewed the back seam with an 1.5 inch seam allowance rather than the original 5/8 inch! This took the back in so it's now actually wearable. This also added time to the sewing time! The top is quite fitted now but I can still actually get it on and off without undoing the zip! Perhaps I should have made a 12, I am still finding the whole sizing issue very perplexing to be honest.

The seams. I so want an overlocker. I edge-finished as per the pattern and they are OK but not great. I turned under and stitched along the edges of the seams as my zig-zagging always looks terrible and frays. Maybe I'm not doing something right. In hindsight I wish I'd used french seams. Not sure how you would finish the zip seam if you used french seams though. Advice?

All in all, I've learnt I don't really like shapeless tops and think it might be good to tackle something with darts or princess seams next to give it more shaping. I have this pattern in my stash and think it might be a good one to try!

New Look 6130 - peplum top and skirt

Saturday, 20 September 2014

A bit of knitting - Sirdar 9410 cardigan

My cardigan is finally finished. It's been a long time in the making but I am so pleased with the end result!


I used Sirdar pattern 9410 that I wrote about here and the double knitting yarn specified in the pattern.


It's knitted in a lovely shade called Spruce which sadly now has been discontinued but you can still buy it online for example at Minerva Crafts.

The cardigan in the main is knitted in double moss stitch, which is also sometimes known as double seed stitch. It makes a lovely stretchy fabric and is produced by working two rows of knit two, purl two, followed two rows of purl two, knit two. 

I found a good set of instructions how to knit double moss stitch here at www.simple-knitting.com

The front panels have a cable and bobble pattern, that I think is called a nosegay (I could be wrong!).


I knitted the sleeves before finishing the fronts as I normally flag when it comes to making the sleeves (is there a name for this - sleeve syndrome maybe!)

The front and back were joined at the shoulder seams and then the stitches for the neck border were picked up and knitted in a double rib pattern.  Once this was completed, the front borders were added also in double rib.

Once the garment was sewn up (very carefully and slowly) and the ends sewn in (I do hate that job), I laid the garment out flat in shape and covered with damp tea towels and left it to dry. This is supposed to block into shape. I know some people block each individual piece but this is what the pattern recommended.

The final touch was adding the top button, and boy did I struggle finding a button to match. I initially looked for a green one but it was impossible to get something the same shade. In the end I settled for a contrasting button.  I think it's coconut shell. It means that the cardigan will have to be handwashed but to be honest after all that work knitting it I probably wouldn't be sticking it in the machine anyway, although the yarn is described as machine washable.


I did enjoy making this as I like knitting textured patterns although cables do require some concentration! All in all this was a fairly easy make though.

Here I am wearing the finished item today.  It's a pretty terrible photo!


Now I'm wondering what pattern to knit next? 

Friday, 19 September 2014

A stitching update

So the cable and bobble cardigan is all sewn up. I am really pleased with how it has turned out. As it's knitted in a double moss stitch pattern, it's lovely and stretchy and a good fit.  The end are sewn in. It's currently being blocked, something that I don't always do but think it's worth it after all that hard work.  Just the button to add and then I can post a picture.

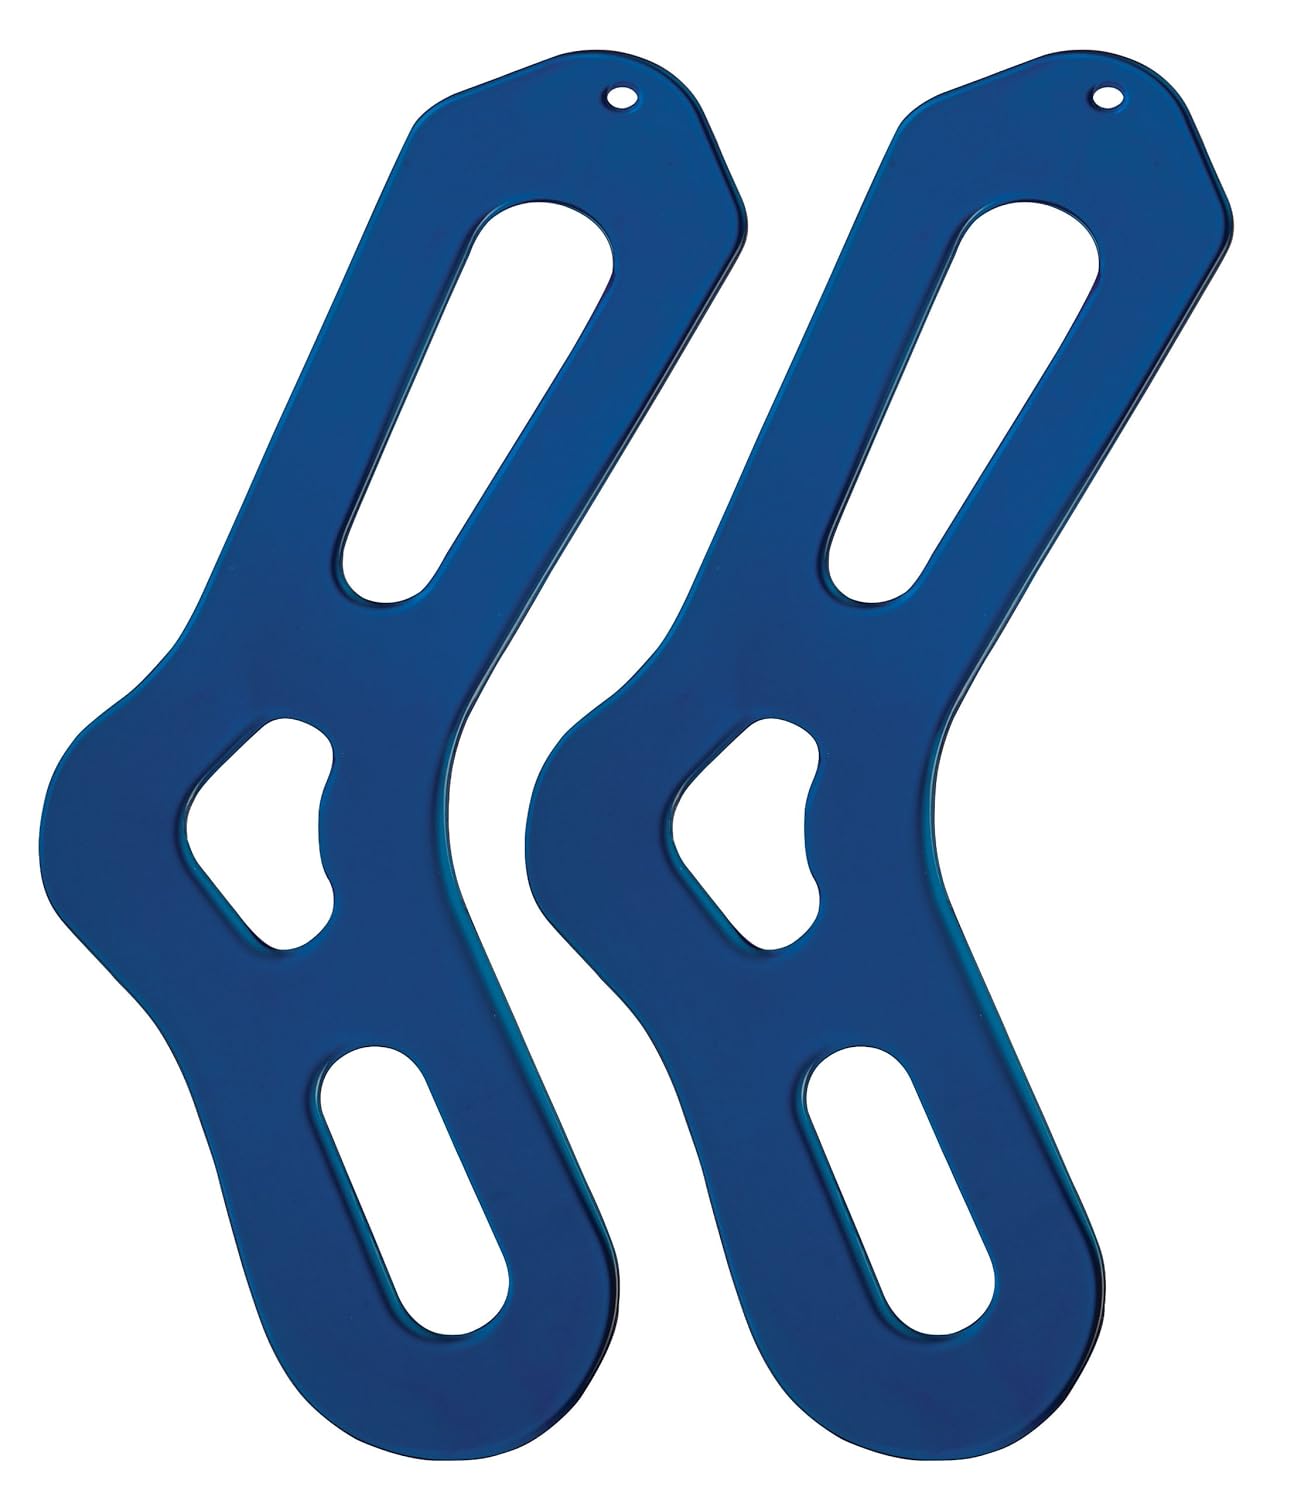
I purchased a pair of sock blockers also. I chose these ones from Knitpro. I did fancy some wooden ones but they were a bit too expensive.


Once the second sock is all knitted up, will have to give them ago.

Have also started a sewing this simple top. Thought I would sew something easy to try and get my sewing mojo back!


Thursday, 4 September 2014

Back to blogging!

Well summer is over and I thought it was about time I got blogging again! Not sure where July and August went.  Unfortunately, I didn't get much chance to do any sewing, hence the fact I haven't updated the blog. I hardly had time to make any of the patterns I posted about here.

I may have had a busy summer but I did get a couple of weeks off work and spent a lovely week in Norfolk at the seaside.


I also visited two lovely knitting shops while I was there: Wool and Crafts in Cromer and Creative Crafts in Sheringham.

I spent much of the last week of summer sorting out my daughter for secondary school. Off she went on Tuesday, all grown up now!

So now September is here, I thought I had better get on with finishing with some of the sewing and stitching that I've started.

This is what I've got unfinished:

Pink polka dot Tilly and the Button's Mimi blouse from Love at First Stitch.


Got as far as setting in one sleeve. I think this will be lovely but the material I am using seemed to make constructing this blouse really difficult. I really lost my way with this one but will finish it! I actually think it's quite a difficult blouse for a beginner to tackle.

A pair of socks

One sock knitted. The other is on the needles.

I'm knitting a pair of ribbed socks from one of my books, Favorite Socks by Ann Budd, in a lovely blue self patterning yarn by Regia.


I have been eyeing up some sock blockers, wondering if they make a difference to the finished socks!


I do love knitting socks, they are a great project to have on go when you don't feel like doing anything too complicated or time consuming. I can see some more socks being knitted once these are done.

Sirdar 9410

I've been making a cable and bobble short sleeved cardigan in a double knitting yarn.

I used the same colour yarn as the pattern as I think its's a lovely shade of green. It's called Spruce. Perfect for Autumn. The cardigan is all knitted up. Just the dreaded sewing up to do. Need to take my time over this!

So all in all plenty to be getting on with. Then time to think about what I fancy making next! What have you got lined up for Autumn?

Happy stitching x

Popular Posts